Paper Tree
O Christmas tree, O Christmas tree… no, not the real ones with pine needles that are reach up to the ceiling! How about the ones made of paper that fit right on a page? This paper tree collage is a perfect rainy day or evening activity during the holiday season.
All you need is…. paper! Well, okay… paper, scissors (or a paper cutter if you have one at home), and glue. When it comes to paper, let’s specify. You’ll need a large sheet of white paper for your background and then a variety of paper scraps that include the color green. You could use construction paper, scrapbook paper, leftover wrapping paper… whatever you like!

Cut your green paper into strips of different widths and lengths. Once you have a nice little pile, start stacking them on your white sheet, longest strips on the bottom. The rest can be random and don’t be afraid to mix your patterns and angles. Use a glue stick to adhere them down when you’re ready. If you like, you can cut out some ornaments, a brown tree trunk, and a star from construction paper to decorate your tree. Ta-da!

Quick, simple, and pretty! And your entire cleanup consists of sweeping any scraps of extra paper into a recycling bin. Display and enjoy!


 D.V. has a great imagination! This colorful scene really show’s D.V.’s use of color, shapes, textures and creativity!
 -Contact Paper
-Tissue Paper
-Construction Paper
-Scissors
-Hole Puncher
-Ribbon
 Cut out the mitten shape and lay flat onto a piece of contact paper.
 Cut up colorful piece of tissue paper. I made little pieces about an inch long.
 Sprinkle the tissue paper pieces into the center cut out area of the mitten.
 When you have finished placing all the tissue paper pieces, add a few extra to fill in any empty spaces and carefully flatten out any pieces that may have curled up.
 Place another piece of contact paper over the finished mitten.
 Cut out the mitten from the contact paper, trimming just outside the edge of the construction paper.
 Punch a hole into the mitten cuff, string a ribbon loop onto it, hang up and enjoy!
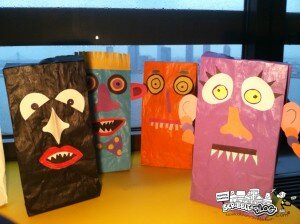
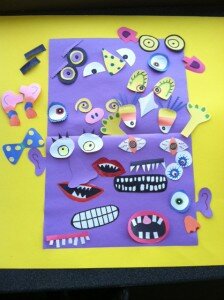
 2. While the paper bags are drying, draw creepy face shapes on construction paper. Try layering pieces of paper or using markers for added detail. Encourage imagination and creativity in your little ones by telling them to go wild with making silly faces!
 3. Fold down the top 1″ of the bag (do not glue or tape shut) toward the back.
 Have fun and Get Scribbley!
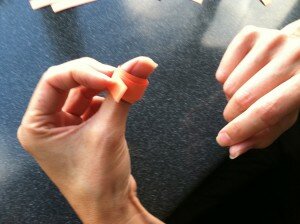
 3. Wrap strips around your thumb.
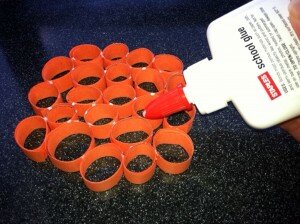
 4. Glue the end of strip to the rolled up piece to close the circle.
 8. Cut three half inch strips of green construction paper about 4 inches long.
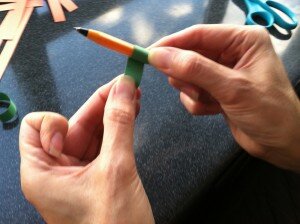 10. Glue the three green pieces in between two of the orange circles.
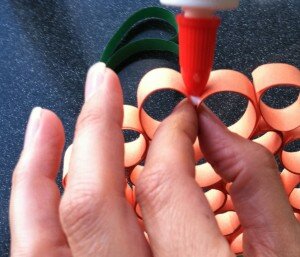 11. Cut a half inch strip out of brown construction paper about 2 inces long.
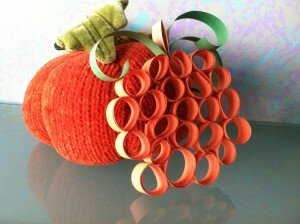
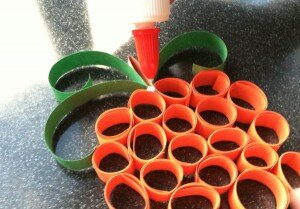 14. Once everything has dried, place your Thumbkin Pumpkin somewhere as a decoration or hang in a window!