Magazine Strip Silhouettes
It seems like magazines always find a way to pile up. For some reason, I can never bring myself to just throw them out. Filled with beautiful images, colors, and articles, it feels wrong for them all to end up in the trash. So anytime I can put them to good use with an art project, I jump at the chance! This magazine strip silhouette is a great way to transform your old magazine pages into something creative, personalized, and beautiful!
For your silhouette, you can pick an animal, a person, your home state—whatever you want. Just keep in mind the level of intricacy involved in cutting the strips to fit the shape.
 Photo via Meaningful Details on Etsy
You’ll need some old magazines, scissors, glue, a pencil, an X-acto knife, the shape you want to trace for your silhouette, and something to mount this project on—it can be canvas, cardboard, or poster board.
Start by cutting your magazine strips. Tear out any pages that have a lot of color (or just the colors you’re looking for). Don’t worry if it’s a picture of something weird—you won’t be able to see it once it’s cut up. Cut them into thin, straight strips, roughly the same width (the length can and should vary).
 Photo via Apples of Gold Set in Silver
In pencil, trace the silhouette on your canvas. Then, start gluing down your magazine strips inside. You can trim each piece with your X-acto knife as you glue it down, or you can mark them with a pencil and trim them afterwards.
Once your silhouette is all filled in, it’s a good idea to finish it off with a coat or two of mod podge. This will seal down your collage.
 Photo via Designed By BH
And that’s it! Let it dry and hang it up. Colorful, customizable, and recycled—this fun project is great for the eyes and the environment. What are your favorite projects with recycled materials? Any other fun ideas for magazines?


 To make this craft, you will need:
-Tulle- Pink, Yellow, Blue
- Scissors
- A Hair Elastic
 A small bit of the end of the tulle may remain; that’s okay. Begin braiding the colors and simply braid the left over end into it.
 Tie the end to the same hair elastic. Trim any left over pieces.
 Style your hair and rock your creativity with your new stylish headband!
 To start, all you will need is a piece of paper and a pair of scissors.
 First, fold the corner of the paper into an isosceles triangle (two equal sides).
 Cut the remaining rectagluar piece off so that you have a square piece left over when you open up the triangle.
 Refold the square into a triangle.
 Fold in half again to make another triangle.
 Imagining that your triangle is split in thirds, fold the first third over towards the center.
 Next fold the opposite third over so that the points overlap.
 Cut off the top (the points) at an angle, making sure to cut it so that all the layers are equal.
 Cut into the folded sides to begin making your snowflake.
 Get creative- cut out different shapes of different sizes and angles. Hint: For more intricate cutting, use cuticle nippers to make a more precise cut.
 Unfold your finished snowflake to admire your work. You can glue your snowflake to a piece of colorful paper or string onto monofiliment and hang up near a window.
 Enjoy!
 These cut-out pieces make great confetti!
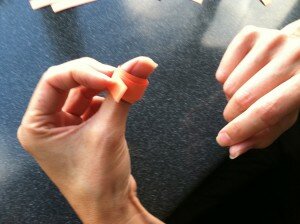
 3. Wrap strips around your thumb.
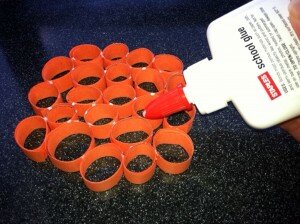
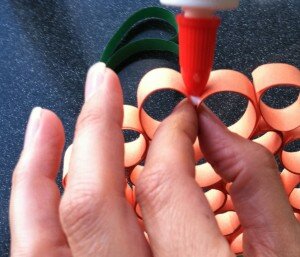
 4. Glue the end of strip to the rolled up piece to close the circle.
 8. Cut three half inch strips of green construction paper about 4 inches long.
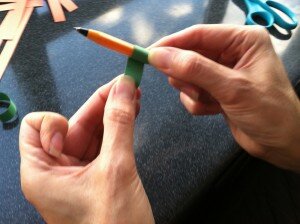 10. Glue the three green pieces in between two of the orange circles.
 11. Cut a half inch strip out of brown construction paper about 2 inces long.
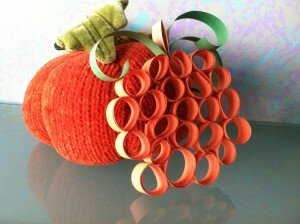
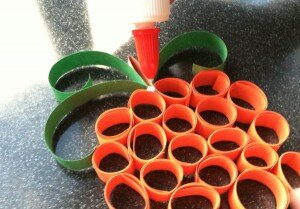 14. Once everything has dried, place your Thumbkin Pumpkin somewhere as a decoration or hang in a window!